Printable Shipping LabelsWith CloudCommerce, you don’t need to pay more money separate apps, add ons, or complex integrations to print shipping labels for your orders. The ability to print shipping labels is built in to our software. ConfigurationLabel Printing is Configured by Turning on and Configuring your Standard Shipping Modules Step 1: Login to your CloudCommerce Dashboard. Then Navigate to Modules > Shipping. 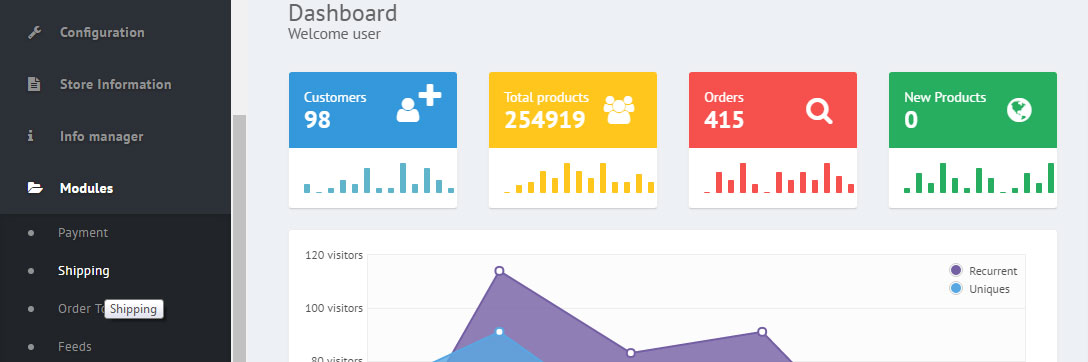 Step 2: Highlight the Shipping Method (Module) you wish to use in conjunction with printing shipping labels. Click the Install button. 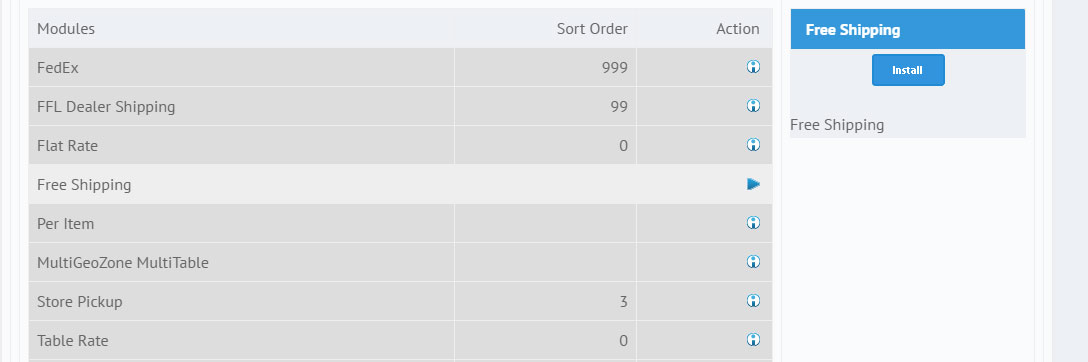 Step 3: Click the Edit Button 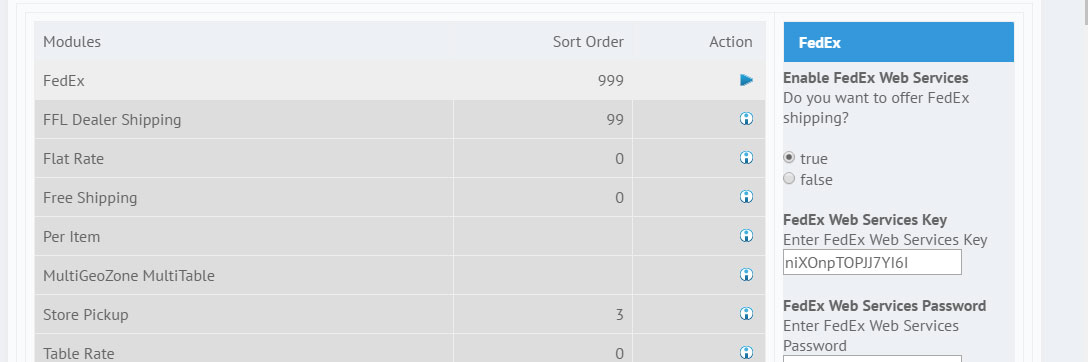 Step 4: At this point each shipping method (module) will be slightly different to setup. Please refer to the setup instructions for individual shipping modules at the following links: Step 5: Set the module to True 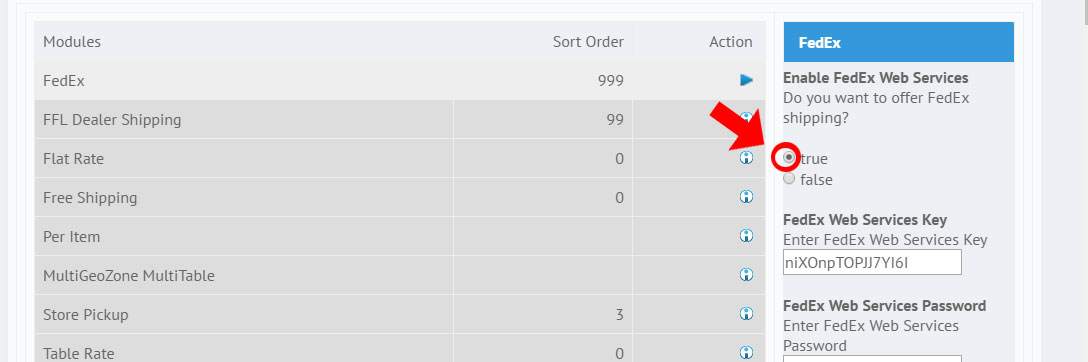 Step 6: Click Update - The shipping module will now be available for label printing. Repeat the steps for any other labels you would like to print. Follow the instructions below to print labels. 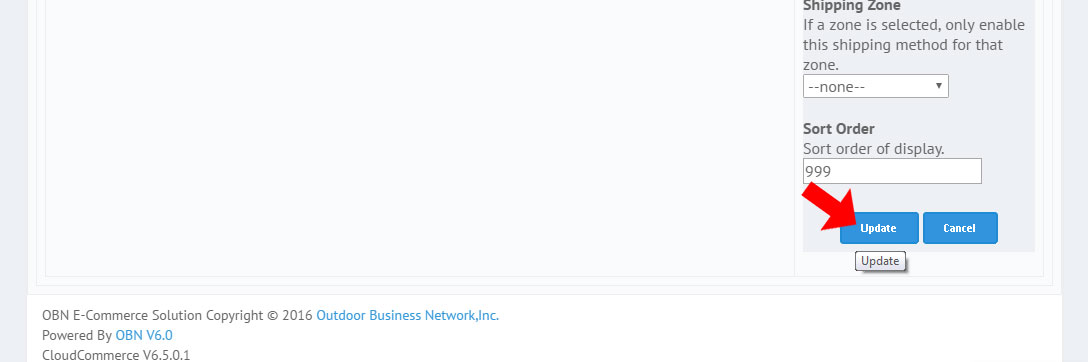 Note: When not using the Vendor Shipping feature, all configured Standard Shipping modules will be available to the customer to select at checkout. If you would like your customer only to see sepecific shipping options that you choose, but still have the ability to print a shipping label from any source, you must setup and use Vendor Shipping. (For example, you wish to show $8 Flat Rate, Free Shipping over $100, and In Store Pickup options at checkout, but then be able to print USPS shipping labels, you must set up Vendor Shipping. See tutorials vendor based shipping here: Step 1: Login to your CloudCommerce Dashboard.  Step 2: Navigate to the order you wish to print a label for. By clicking on the Orders button on the dashboard. 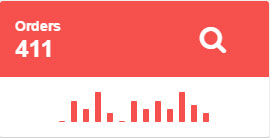 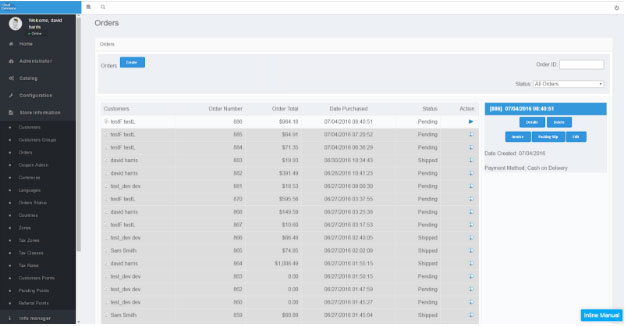 Step 3: Click the Details button of the order you would wish to work on. Note: you can also double click on the order. 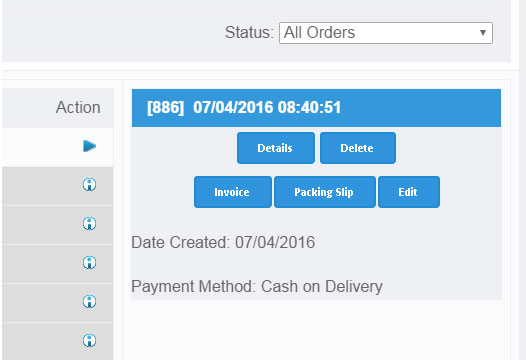 This will bring you to the order details page. 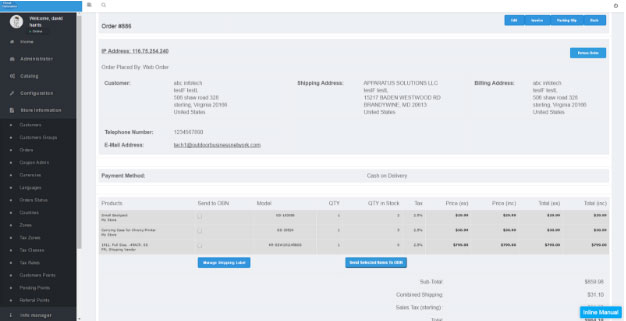 Step 4: Click the “Manage Shipping Label” button. 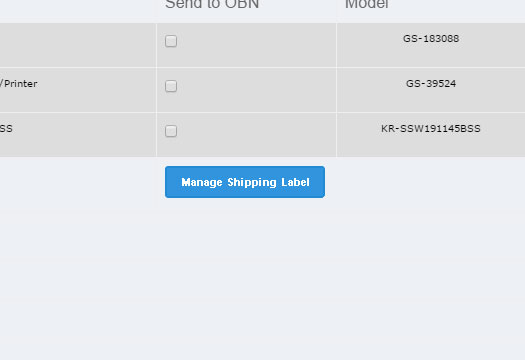 Step 5: On the Manage Shipping Labels screen, you can now enter the quantity of the items on the order you wish to ship from your store to the customer.  Step 6: Click the “Get Shipping” button. 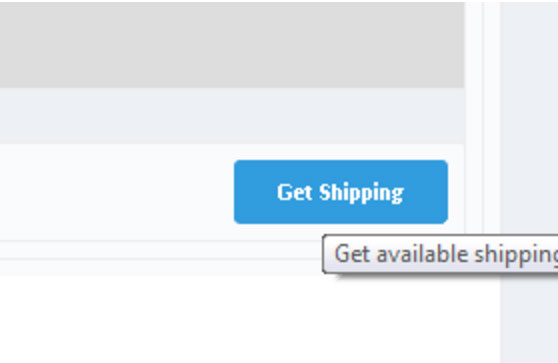 Step 7: Select from one of the configured shipping methods that you would like to print a label for. 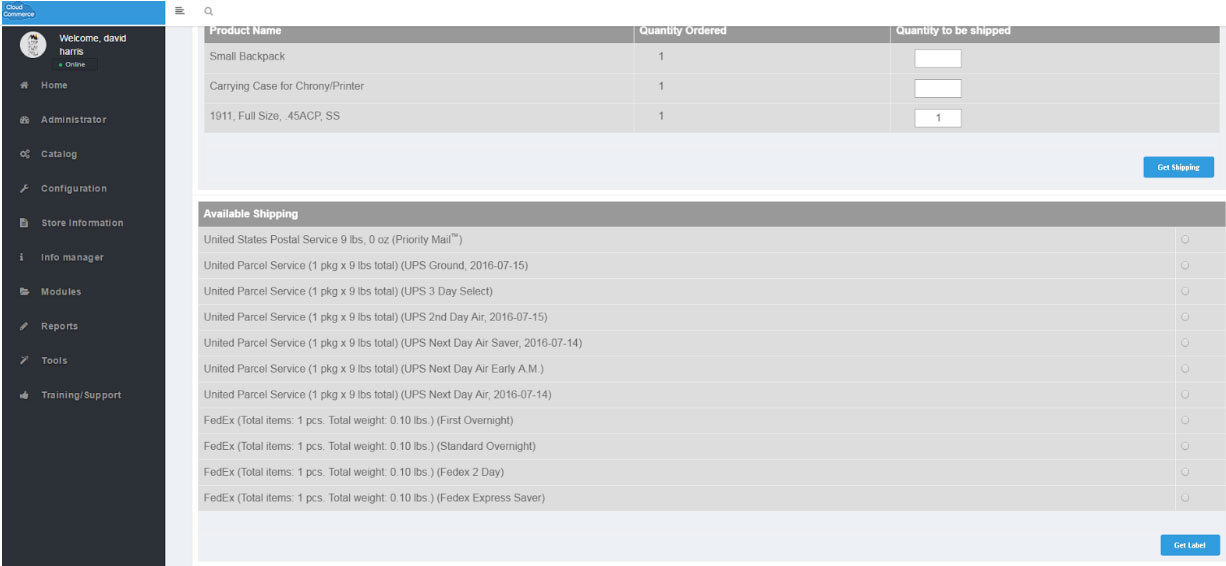 Step 8: Click the “Get Label” button.  Step 9: A link to download your shipping label will appear below. 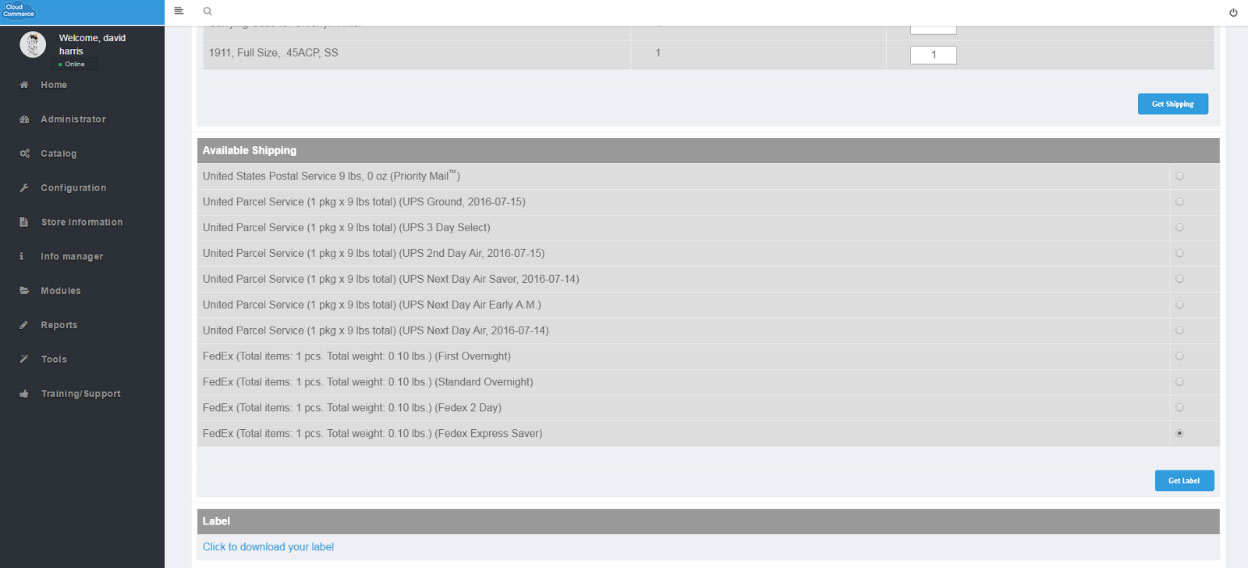 Step 10: Click the “Click to download your label” link. 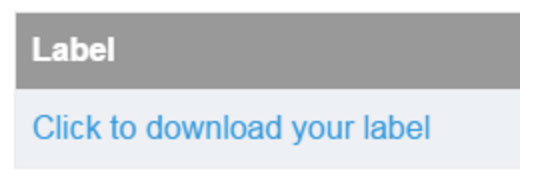 Step 11: Your shipping label will appear as a .pdf in a new browser tab, or new browser window depending your your computer's settings.  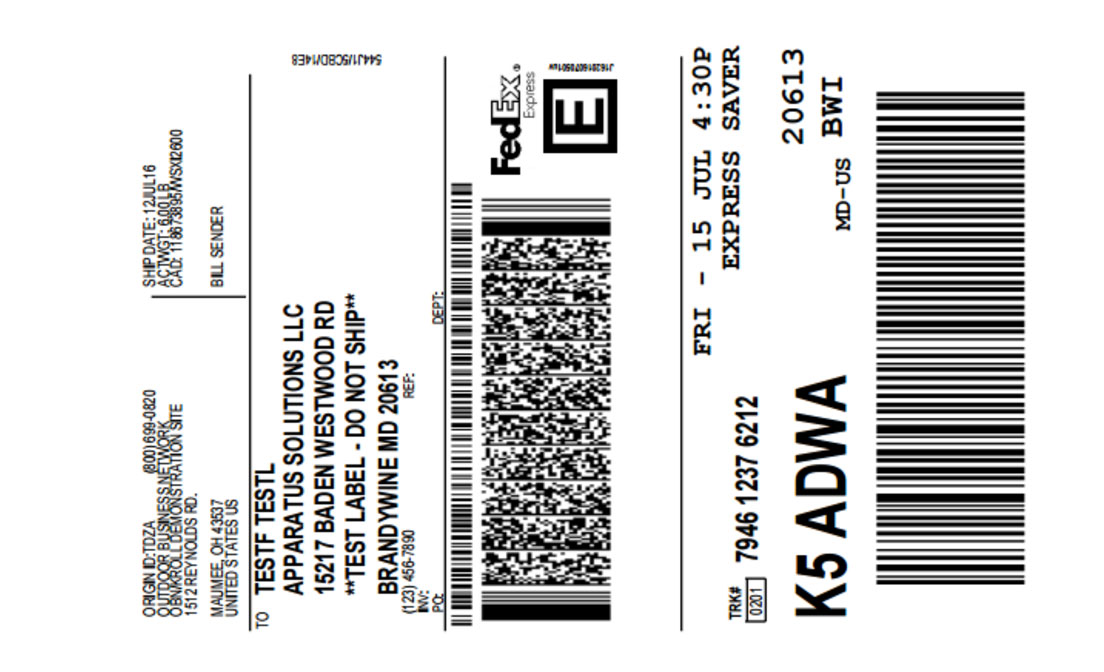 Notes:
The CloudCommerce label printing functionality was designed for retailer friendliness and labels can be printed on standard paper on any laser or inkjet printer. Our system was not designed for specific printer brands or models in order to lessen the cost of specialized equipment purchase. Peel and stick labels such as those from Avery or other manufacturers can be easily made to work by configuring your local PC’s print settings for the specific paper you would like to use. Printers such as Zebra, etc. can be made to work, but will require configuration and setup on your local PC. We suggest you contact your printer manufacturer for help setting this up. We may be able to provide 3rd party support and configuration for limited manufacturers and models as a best effort.  Once you generated your label, printing it is as easy as clicking the print button on your browser or using the Ctrl-P keyboard shortcut. 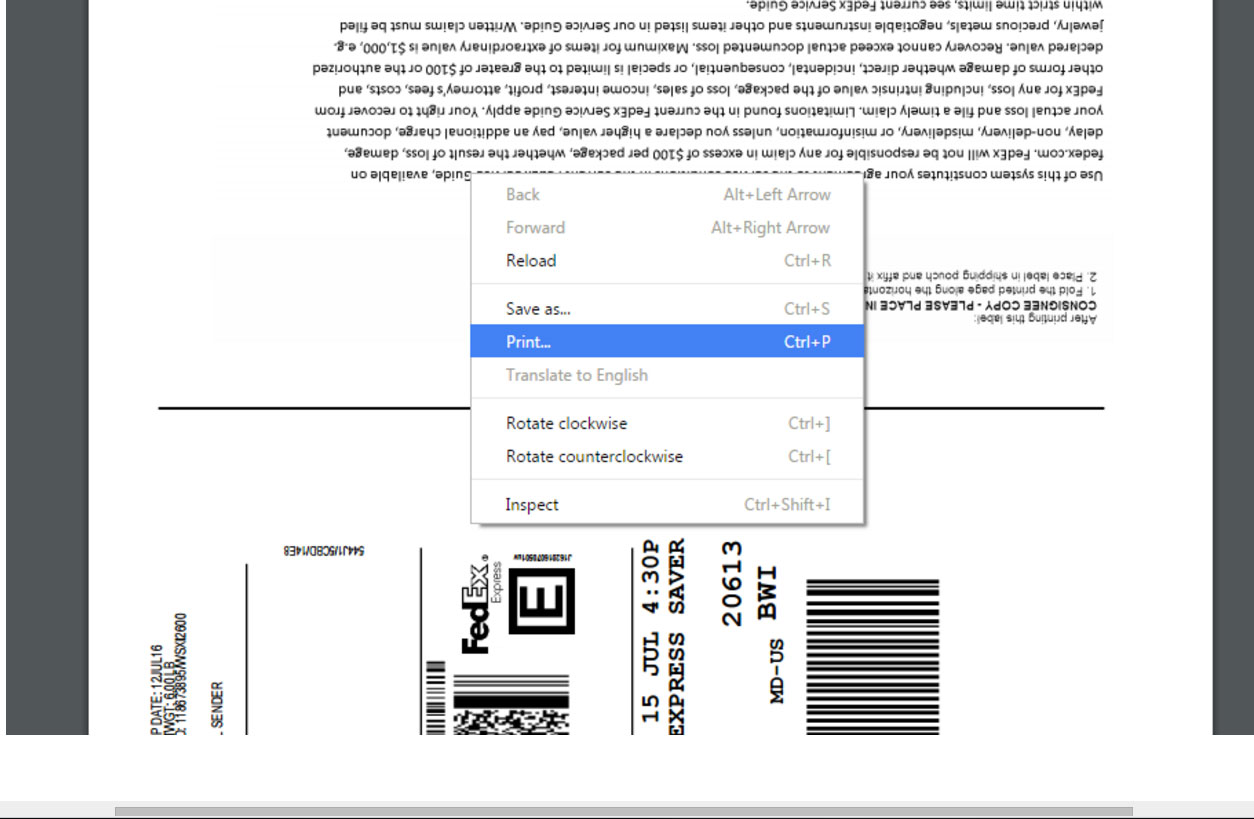 Choose the printer and check the preview. Then click print. 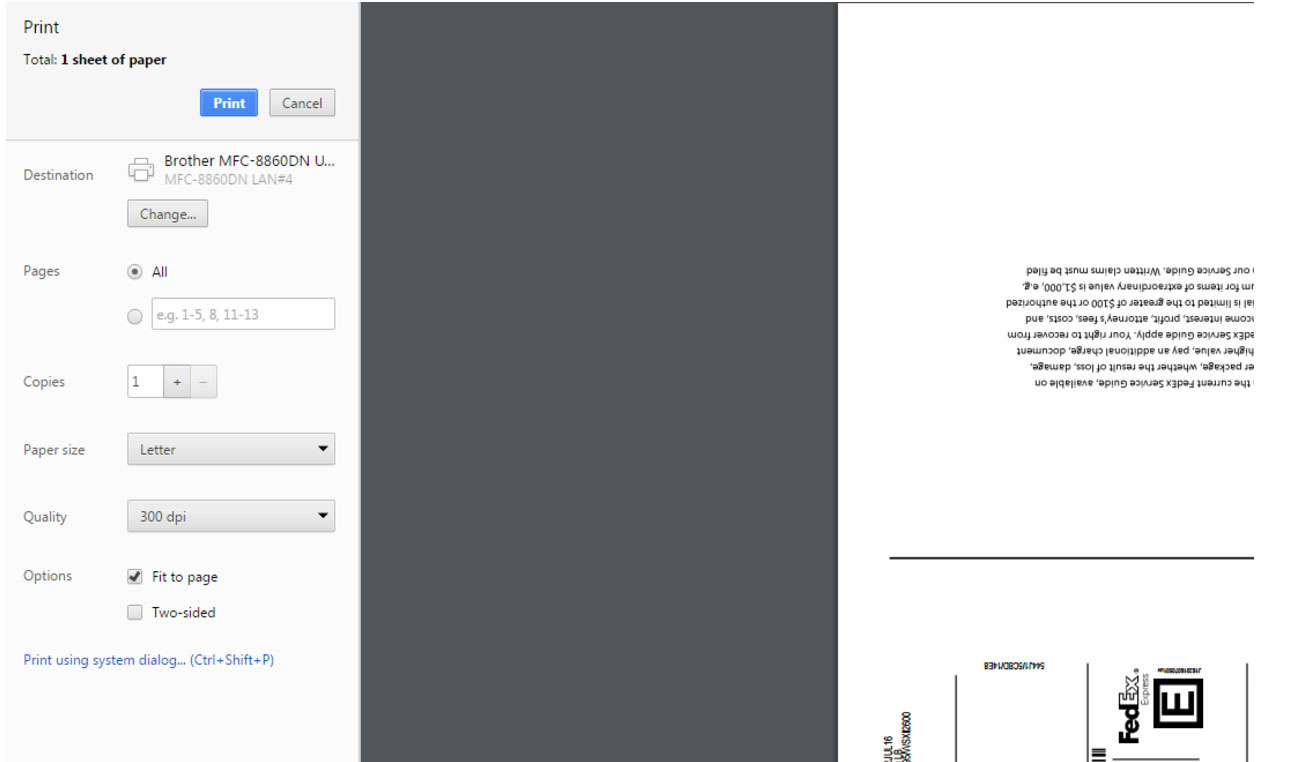 Need help? Have questions or don't have the time? Be sure to give us a call at 800.699.0820. We are here to help. You can also bring up any issues by using our ticket system. Hope this tutorial was helpful. |
- 0 Users Found This Useful
Related Articles
Powered by WHMCompleteSolution
