FFL Dealer ShippingFFL Dealer Shipping allows your customer to select a delivery address from a pre-determined list of addresses or FFL retailers you have uploaded through your administration area. You can control the list of addresses via an Excel spreadsheet. For convenience, the upload format is the same format as the download format at the ATF website. You can download the ATF file and upload it directly, or you can download it, create and/or manage your own list to have more freedom and control over the FFL’s you work with. For Non-FFL retailers with multiple stores, or manufacturers with multiple dealers, this module can also be easily adapted as a ship to store/store locator feature. How It Works - Customer Facing: Step 1: A Customer adds an item with FFL shipping associated to the shopping cart and proceeds to Checkout. They will be prompted to enter their zip code by this screen. 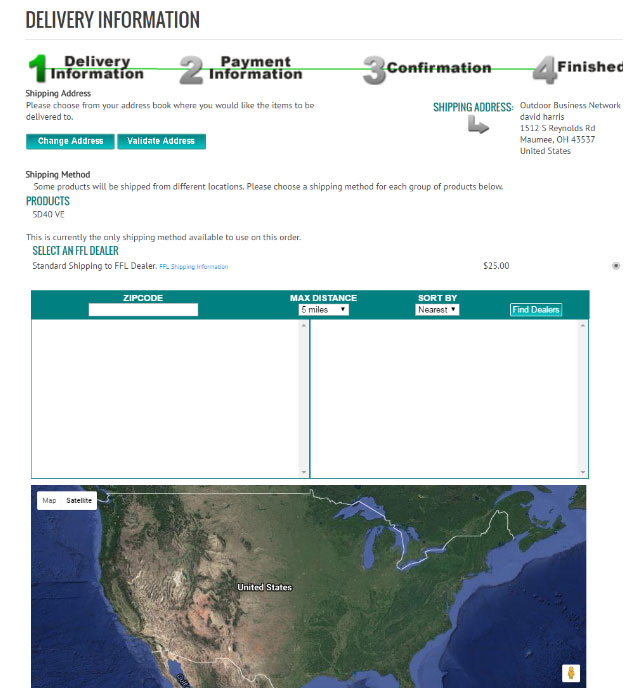 If a customer has multiple items in their cart, and the CloudCommerce store is set up to use Vendor Shipping, the customer will see separate shipping options for Non-FFL items, as well as FFL shipping for the FFL assigned item(s) as below: 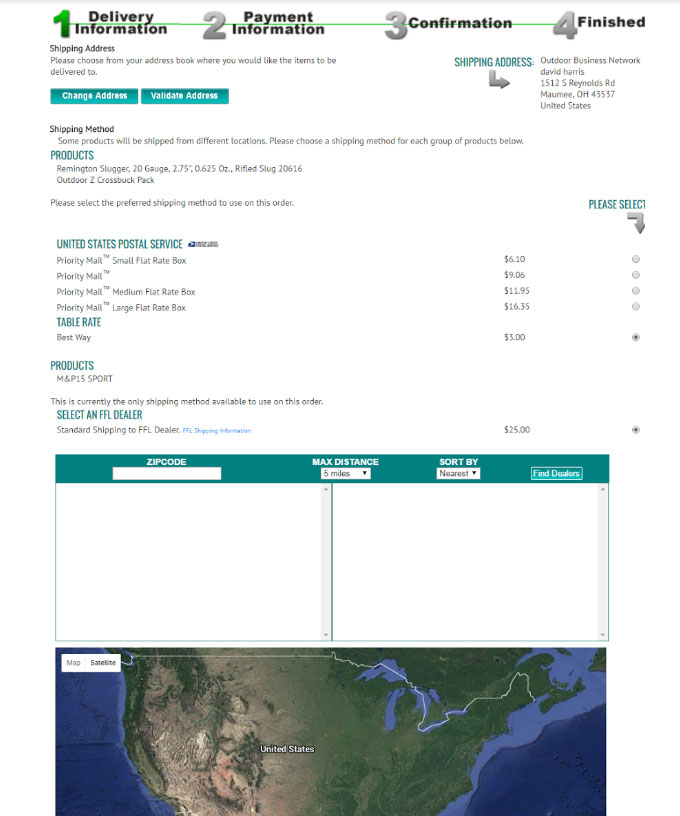 step 2: After entering their zip code, a list of dealers around them will be displayed, as well as displayed on the map. 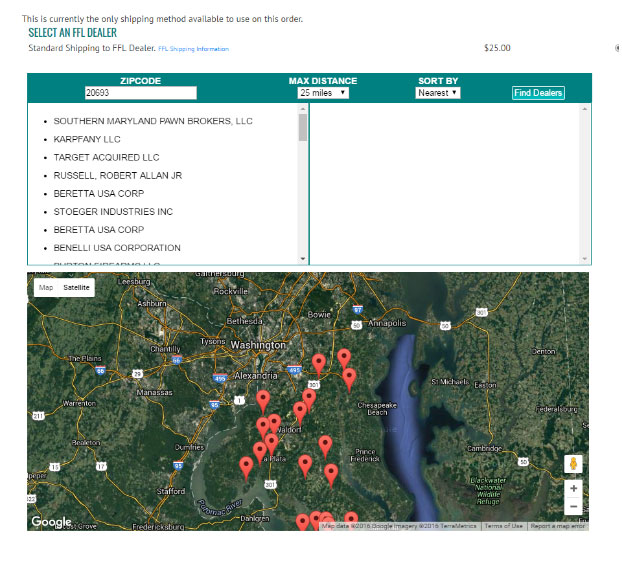 Step 3: Your customer can scroll through the list of dealers, and select the one they choose. 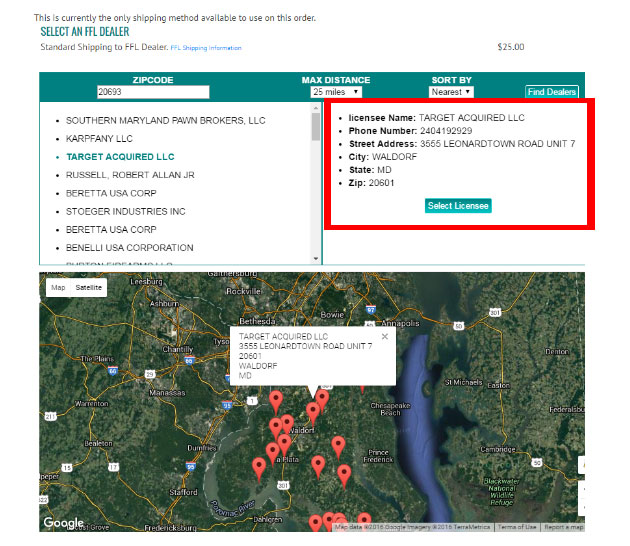 Step 4: Once selected, the customer will be notified that their order has been successfully updated and the new shipping address will be shown on their screen. 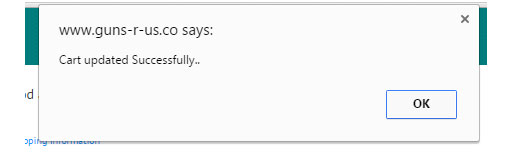 Step 5: The Customer can now continue on with the remainder of the checkout process normally. The Shipping for the FFL will be added to the customers address book, and noted as the shipping address on the order. 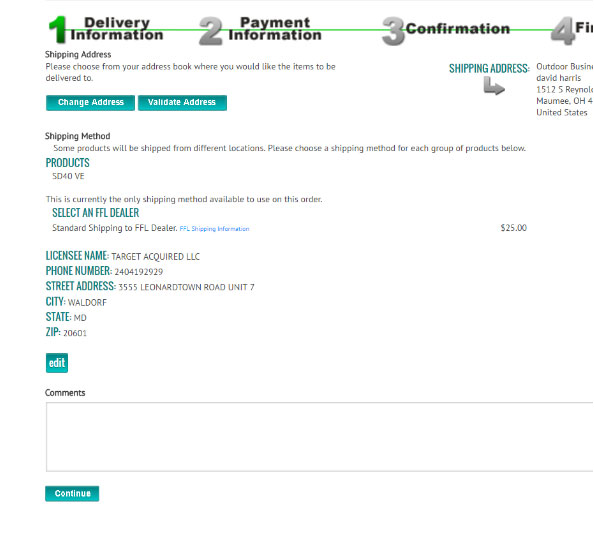 Step 6: The customer will continue on to the payment screen, order confirmation, and order success pages to complete the order. The customer has the ability to click a link next to the shipping type, which links to your shipping policy information pages, for any clarification needed on your FFL shipping policies and requirements. 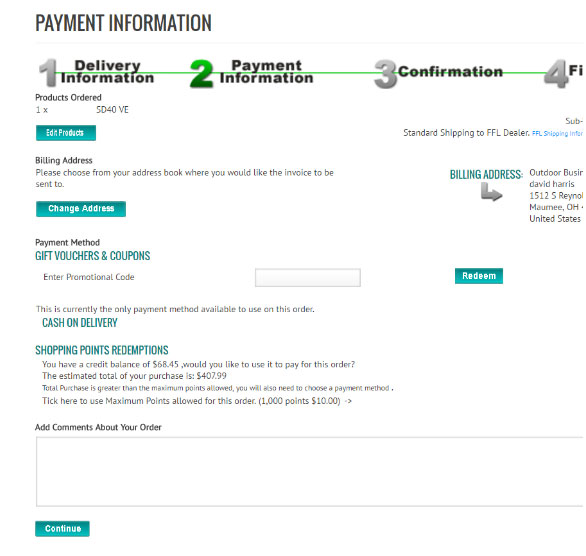 How It Works - Admin Dashboard/Order Processing: Step 1: Navigate to Dashboard > Store Information > Orders, then choose the order you would like to work with. Processing an FFL order is essentially the same as any other order process, with the difference is the shipping address reflects the chosen FFL dealers address for the entire order. 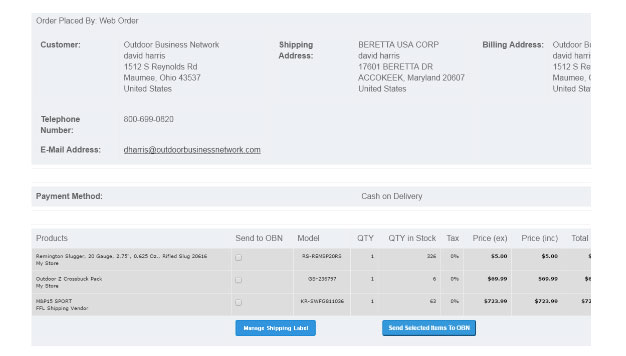 Step 2: If you submit the order to your supplier, the FFL address will be replaced with your store’s address. As most suppliers will not drop ship direct to the FFL by default. This can be modified as a custom request if your supplier allows it. Step 3: Submit the order via the “Send to OBN”. Then receive the items into your store, and use the manage shipping labels feature to send the items to the FFL. Notes on Operation:
Setup: Step 1: Login into the admin of your website. Step 2: Navigate to the shipping modules by scrolling down to Modules > Shipping > FFL Dealer Shipping. 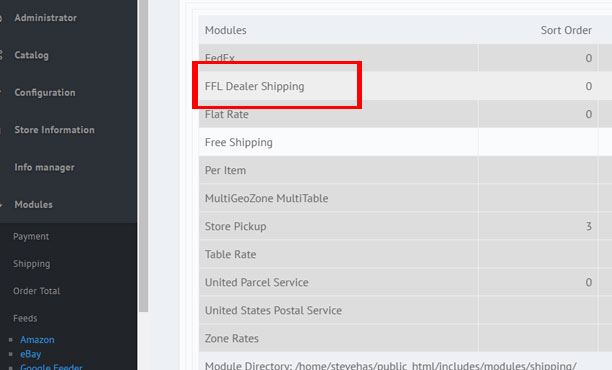 Step 3:Click "Install".  Step 4: In a separate tab or window, navigate to https://www.atf.gov/firearms/listing-federal-firearms-licensees-ffls-2016. 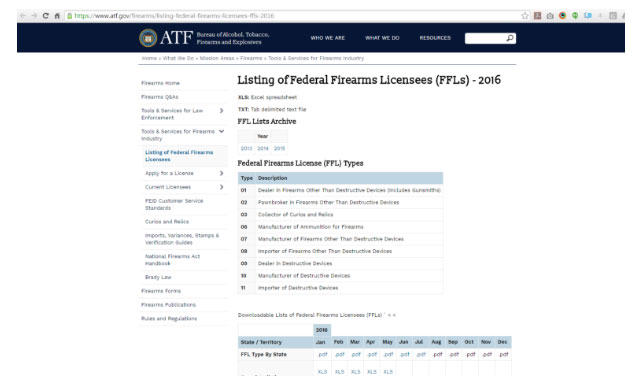 Note: This link is subject to change Step 5: Download the TXT version of the desired list and save it to your hard drive. 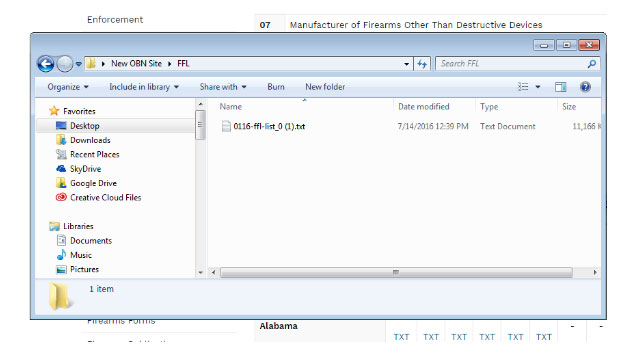 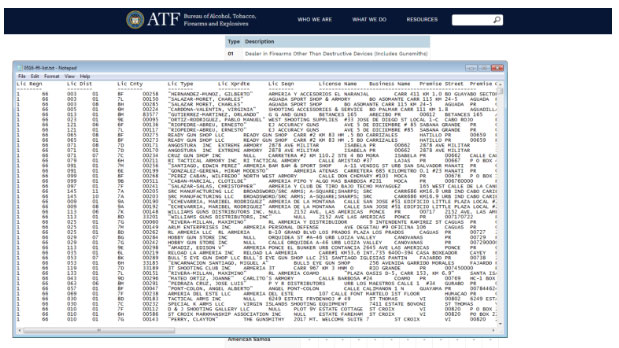 Note: You can modify this list after it downloaded to your computer but before it is uploaded to the site using a text editor or Microsoft Excel or similar. 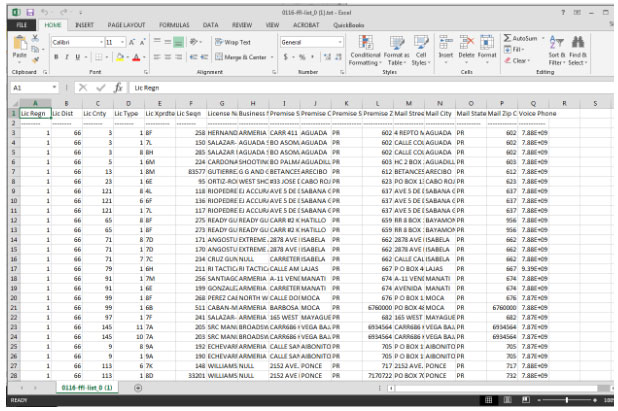 Make any edits, additions, or subtractions. Many dealers will modify this list to match a set of existing hard copy FFL’s they have in possession and have verified. Save the modified file to your computer. When saving, be sure to save it as a Tab Delimited Text File. (.txt Tab Delimited) 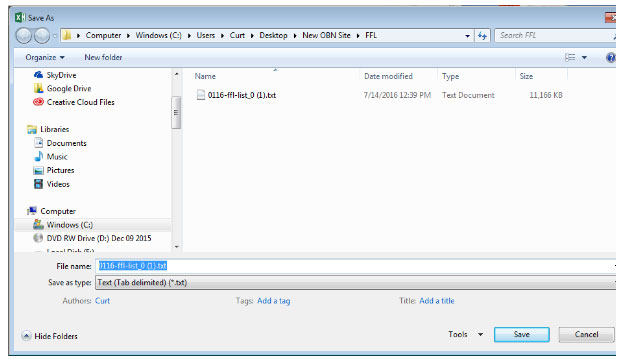 Step 6: Back in the admin panel, click on the text “Click here to upload/view Federal Firearms Licensees”. 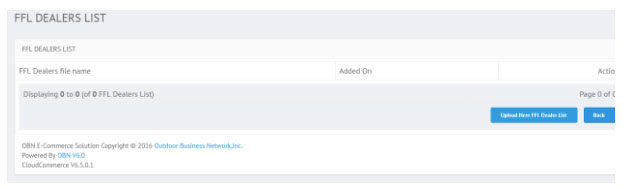 Step 7: Click the “Upload New FFL Dealer List”. 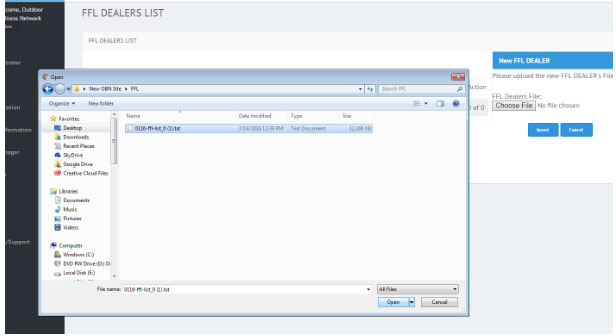 Step 8: Click Choose file. Then find desired file on your computer, and click “Open”. 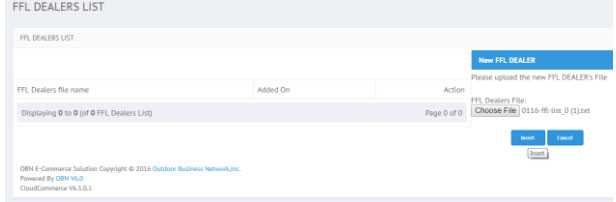 Step 9: Click Insert. Depending on your browser, you will see a rotating icon at the top of your screen, near the page title, and an upload status near the bottom left. 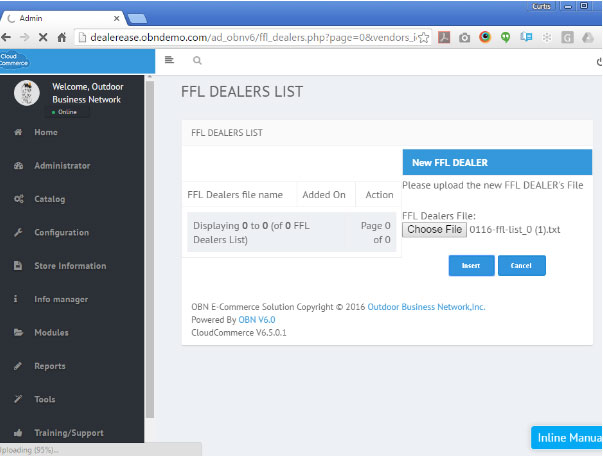 Note: This may take a few minutes to upload depending on the size of the file. 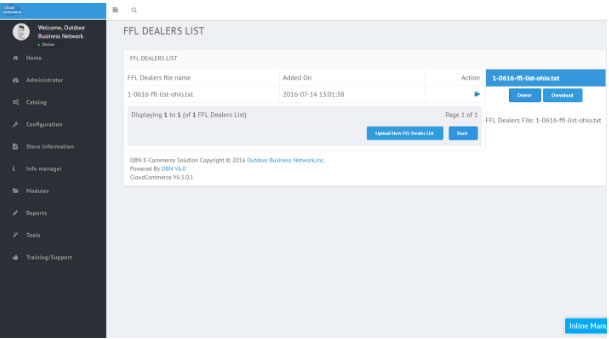 If you have uploaded multiple lists, they will show here and can be managed here. For example when you upload a newer list, just highlight the old list and click delete to remove it. Note: If your file will not upload, please contact the CloudCommerce support team. It is likely an issue of enabling permissions for this module for you by one of our Admins. Need help? Have questions or don't have the time? Be sure to give us a call at 800.699.0820. We are here to help. You can also bring up any issues by using our ticket system. Hope this tutorial was helpful. |
- 6 Users Found This Useful
Related Articles
Powered by WHMCompleteSolution
